New Players Guide to Conqueror's Blade
I originally was introduced to Conqueror's Blade in 2018 during the European X Test after the developers found me streaming a similar game and wanted to ask my opinion about the title they were working on. From the first moment I entered Conqueror's Blade I knew this was "My Game". I have loved Siege Warfare since my first MMORPG in Dark Age of Camelot. I had traveled through Warhammer Online, Guild Wars 2, Elder Scrolls Online, and even Black Desert Online but nothing gave me that rush that DAOC provided. That is until Conqueror's Blade.
I decided to bring my community Gaiscioch to the game along with our helpful nature and positive attitudes. We spent the first 4 seasons teaching players the basics before finally deciding to give the big war a go and start finding a place in the world for us. As we grew, sieges, and saw more of the gameplay systems I started taking notes that I felt would be helpful. I setout to create two major guides. The first for new players (this one) and the second for House Leaders discussing Fief Ownership from top to bottom. With these two guides and the rest of the content you'll find on ConquerorsBladeHub.com I hope that I can help you find the same passion for Conqueror's Blade that I did. There is simply no other game available today that is similar to Conqueror's Blade and that makes it a very unique find.
Table of Contents
- Weapon Selection
- Attribute Points
- Recommended Unit Plan
- Earning Bronze
- Resource Gathering
- Treasures
- Expand Your Storage
- Fief Quests
- Peacekeeping
- Deploy & Defend
- Fief Maintenance
- Your Warband and How to Train Units
- Don't miss special events
- Repair Often and Reforge at the Artificer's Forge
- Gathering Gold Dust, Powdered Silver, and Other Hero Crafting Materials
- Building your Wardrobe
- Avoid High Taxes, Use Requisition Tokens
- Expand Your Storage with Silver
- Buying Keys on Item Market
- Identify People by their Chat
- Understanding Battle Scoring
Your Warband and How to Train Units
I recommend all newcomers focus on unlocking Incendiary Archers and Spear Sergeants first. Then focus on leveling them to Max level. Once you have them max level you can use them to push exp to your other units.
All units you bring into battle will split the unit exp you earn. The units you use in battle will split 82% and the units that don't enter the battle will split 18%. Any max level units you bring into battle will accumulate Shared Experience which can be designated to any unit in your Barracks. Be sure not to accrue more than 1 million or it will start converting to an insulting amount of bronze.
Make sure to always bring the troop you’re leveling into battle. You can swap them out immediately when the match begins and they will still get full credit. This is exceptionally helpful when leveling tier 5 units. You can bring them in and swap them out before they take any damage preventing expensive kit losses.

Don't miss special events
Throughout various seasons the Great Wall map and the Rattan-themed Into the Breach and Sea Raider's maps make their appearance. Each of these is a great source of bronze, unit XP, and honour. Make sure to do them daily if you can and you will see some pretty massive gains.
Repair Often and Reforge at the Artificer's Forge
I can not stress this enough. Every time you come out of battle, repair. The difference between current durability and total durability determines how much durability loss you will suffer on each repair. If you repair when the numbers are close to each other you risk losing durability less than you do if you wait till it warns you to repair.
When your weapon or armor gets low, you will need to visit the Artificer's Forge to renew them. This gives you 2 outcomes that you can choose. 1 you keep the item you have with its durability restored or it has an RNG of becoming better or worse. Sometimes the weapon can even upgrade to a new color. If the stats are not great, take the version you had previously on the left. There is no risk involved. You either get what you have or walk away with something better.
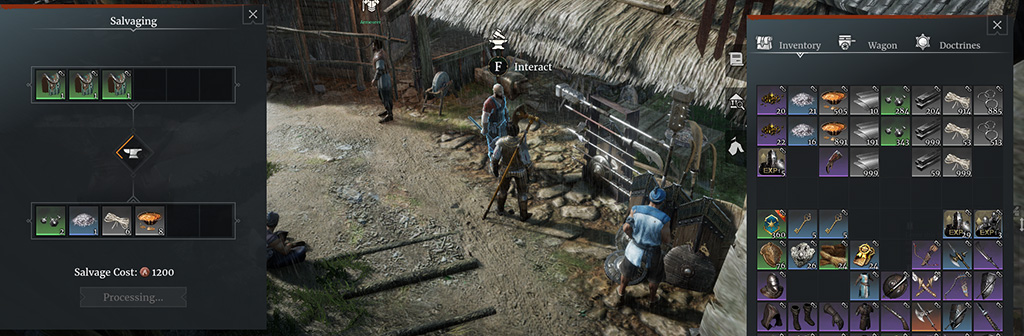
How to Gather Gold Dust, Powdered Silver, and Other Hero Crafting Materials
This is one question I am asked daily and it is easily solved with a quick trip to your Horse Seller. Simply purchase green saddles for 500 bronze and salvage them at the Smith to have a 20% chance to get some Powdered Silver. Purchase the blue saddles for 2000 bronze to get a 20% chance to receive some Gold Dust. In addition, you will receive several other materials every time you salvage.
Another way is to spend bronze at the Apothecary each week to acquire your regular allotment of supplies. You can purchase a limited number once per week. I recommend doing this even when you don't need them.
You can also earn Powdered Silver and Gold Dust from the seasonal store though I suggest using the above as your primary source of those materials.
Equip Every Weapon and Armor Before You Salvage It
This is a trick I didn't learn until I was around level 450. The stencils are not automatically saved in your "Wardrobe" like they are in other games when you salvage. To add them to the available stencils found at the Artisan, you will need to equip the item first. This adds it to your collection and can later be applied to any matching piece of armor or weapon. This allows you to customize your style any way you like.
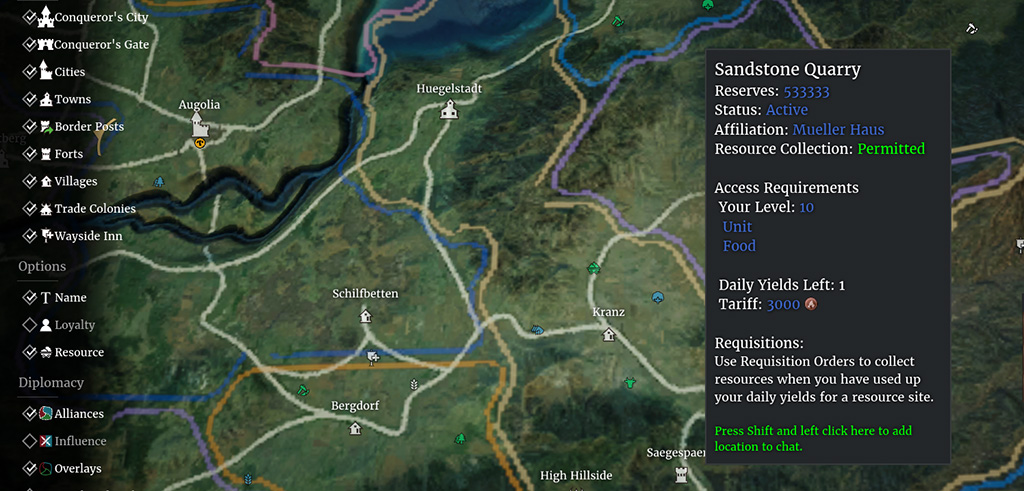
Avoid High Taxes, Use Requisition Tokens
This is the biggest annoyance and oversight most houses place on users. They stick their taxes at 200%+ and expect people to come to farm their supplies because they need to. They sit back and wait for the profits to pour in. Yet houses like ours charge a 20% tax and find our coffers fuller than theirs. Why is this? Because Requisition Tokens allow you to avoid the Taxes and deny the fief of any capital gains. They get nothing and you get to mine the node at a low cost. So these houses that are price gouging think they are winning the economic game but really they're crippling their own gains with high taxes.
Nobody is dumb enough to spend 3,000 bronze on one hit of a Rough Cotton Field node that costs 500 bronze and 1 requisition token. They simply avoid the taxes, farm the supplies and the fief gets squat. You can even use requisition tokens to farm nodes that have collection prohibited.
Earn requisition tokens by doing your 1, 3, and 5 battles daily. These can even be done in Training Yard (AI) battles that have a fast completion and pretty good gains for bronze, honour, and skill points while keeping troop loss to a minimum.
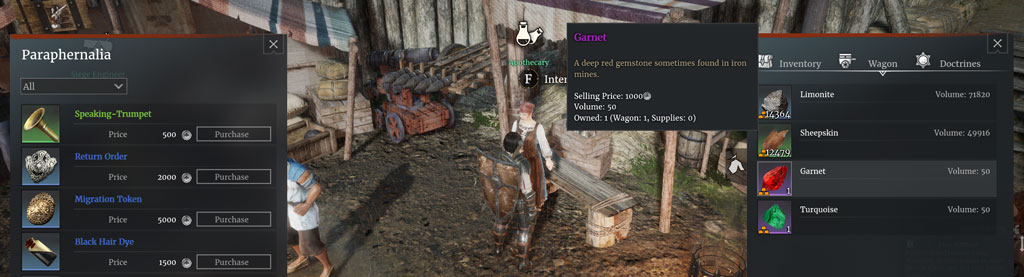
What to do with these strange Exotics?
This is something I didn't learn until after I crossed the level 550 mark. I never even thought to look. If you go to your home city, open your inventory (I), click the Supplies tab (3rd icon on the left), click Supply Dump, and then on the drop-down on the left side select "Exotics". Many of these supplies will be used for siege and kit crafting later in the game, however, there are Epic (Purple) Exotics that when moused over you will see a "Selling Price". These items are not used in any recipe.
There are a few things you can do with these.
- Donate them to the Quartermaster (1,000 Points)
The primary thing most people are using these for is donating them to the Quartermaster to earn Fame quickly. These give 1,000 points of donation credit which can be quite a significant boost to someone's weekly fame growth. - List them on the Trading Post (10,000 Silver)
Since the addition of the Quartermasters, players have been using these to speed their seasonal donation credit to the max. These typically will sell mid to late season for the maximum price (10,000 Silver). - Sell them to the Apothecary (1,000 Silver)
They can be sold by placing them in your wagon and traveling over to your local Apothecary for 1,000 Silver each. By the time I reached level 550 I was sitting on quite a few of them which turned into a nice little nest egg of silver. If you're just starting out and desperately need silver, this is a great way to get some fast.
Expand Your Storage with Silver
Purchased at:
- Smuggler for 200,000 Silver
- Item Market under Items, Rewards typically less than 200,000 Silver
Logistics Charter - This item improves your storage efficiencies at your Supply Dump increasing its storage volume by 500,000 and may increase your Supply Dump Capacity up to 8,000,000 in total.
Purchased at:
- Smuggler for 150,000 Silver
- Item Market under Items, Rewards typically less than 150,000 Silver
These two features you'll want to work toward expanding to their maximum capacity as you earn excess silver.
Use Silver to Buy Keys on Item Market
I didn't realize that keys were such a cheap commodity on the trading post until late in the game. Typically the only way to get keys is by completing weekly challenges while being a Premium Account or by getting very lucky collecting Derelict Huts outdoors. There's an easy and rewarding way to get these. Simply pop open your Trading Post window and navigate to the Item Market then Rewards. You will find key prices between 1,000 and 3,000 per key. Every Secret Vault you open will contain between 2,000 and 4,000 silver and I tend to find spending less than 3,000 per key will yield you a silver gain. You will have quite the return on investment here and I highly recommend buying your keys from the Trading Post as a way to earn silver fast.
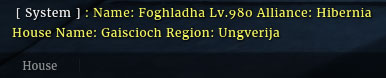
Identify People by their Chat
Ever wonder who someone is. There is no easy /who command in Conqueror's Blade but there is one little function most people only find by accident. If you hold shift and click on a person's name in the chat window it will print their name, level, house, and alliance. This is a great way to identify people via chat messages.
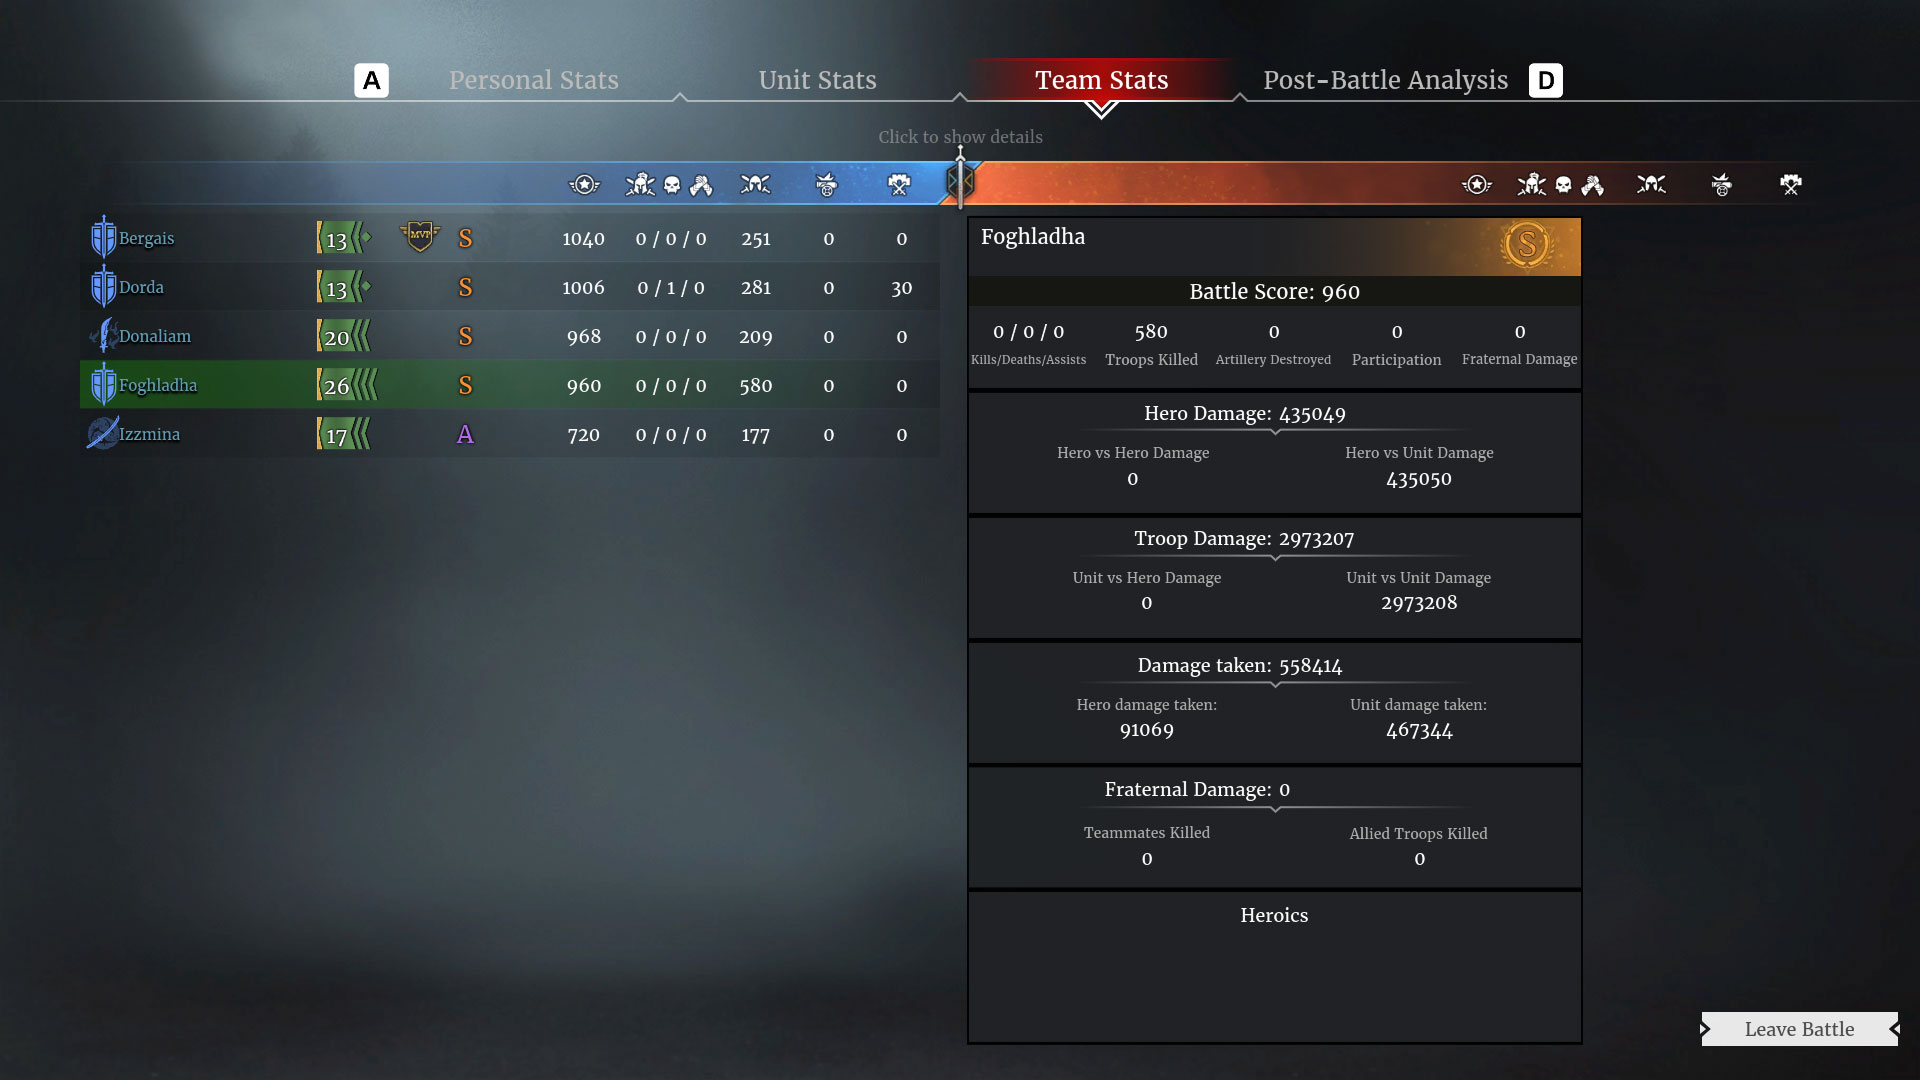
Understanding Scoring
This is by far one of the most common frustrations I see. After a match, you might have killed 10 people and a hundred troops but you did not get MVP. This typically sends people into a flurry wondering why oh why did they not perform well enough to warrant the coveted MVP role. This is because the equation that decides this does not just take Hero Kills, Unit Kills, and Participation into its scoring. It also includes the number of times you died, the amount of damage you absorbed, the amount of damage your units absorbed, and the amount of damage you and your units put out. While you might be good at sniping heroes to steal the glory and earn the medals the total war score is based on how much damage you put out to your foes as well as how much time you spent both fighting on and clearing the objective. For those that want to dive into these numbers, you can click on a name in the post-battle recap to view detailed statistics. You can then compare your stats with theirs and see why they earned that MVP award.
Closing Notes
If you ever have any questions about Conqueror's Blade be sure to swing by the Official Discord or if you'd like a little one-on-one coaching, come find me over in the Gaiscioch Discord and I'll be happy to give you some pointers. This game doesn't have the best tutorial, but it makes up for it in the community. There are a lot of really great content creators out there and communities available to help you learn the ropes. Trust me, the game seems scary and a bit intimidating at first, but once you figure out the ins and outs it all goes a lot smoother.